Labels

Friday, July 12, 2013

Mediterranean Cornbread (or is it cake?)

by Ann

One of the great perks related to being a kitchen assistant at Sur la Table is that I am exposed to new recipes each time I work.  Classes typically have themes, with participants pooling their efforts to make a main dish, salad, and side dish or dessert.  Last week the theme was "Sun-Drenched Mediterranean Supper."  

The main dish was a chicken breast coated with arugula pesto.  At Sur la Table many pesto variations are prepared; the constant ingredients are olive oil, garlic and Parmesan cheese, with the variables related to which herb and nut was used.  Arugula was matched with almonds this time around.  I will do a post on making pesto in a couple of weeks because it is so easy and versatile.

I am sharing the cornbread recipe because it is just plain yummy.  We only had three students in class when it was prepared at the store, so I took some of the leftovers to my mom on the way home.  When she said she wanted to make it herself it inspired me to use it as a blog post topic.  When the recipe was prepared in class we served it as dessert with whipped cream, but I think it makes a wonderful side dish as well.  It is definitely sweeter than most cornbread, but worked well as an accompaniment to the herb-y chicken dish. Who knows, pretty soon I might be calling ice cream a side as well.

There are a couple of distinguishing ingredients in the recipe that makes it so tasty; red grapes and the richness of a liberal quantity of olive oil.

I had also taken home the leftover pesto, so figured I'd recreate the chicken dish, taking some shortcuts.  I coated chicken breasts in the pesto, and thought that since I had to have the oven on for the cornbread it would be a good opportunity to check out how the LeKue silicon cooker worked in the oven for a prolonged period of time.  (If you missed my review of this product, click here.)
Chicken breast covered with pesto in the silicone cooking tray ready to go into the oven.
After cooking the chicken for about half and hour I added chopped mushrooms,  grape tomatoes, mozzarella cheese, and bread crumbs to bake for another 15 minutes or so.  The cooker worked perfectly! 

Ok -- I digress -- back to our main attraction, the cornbread...

Often it seems that the preparation of Sur la Table recipes call for lots of specialized equipment, and it is oh-so-handy that we sell it at the store! This recipe uses the Kitchen Aide stand mixer from beginning to end, but my guess is that it could be done successfully with a hand mixer instead.
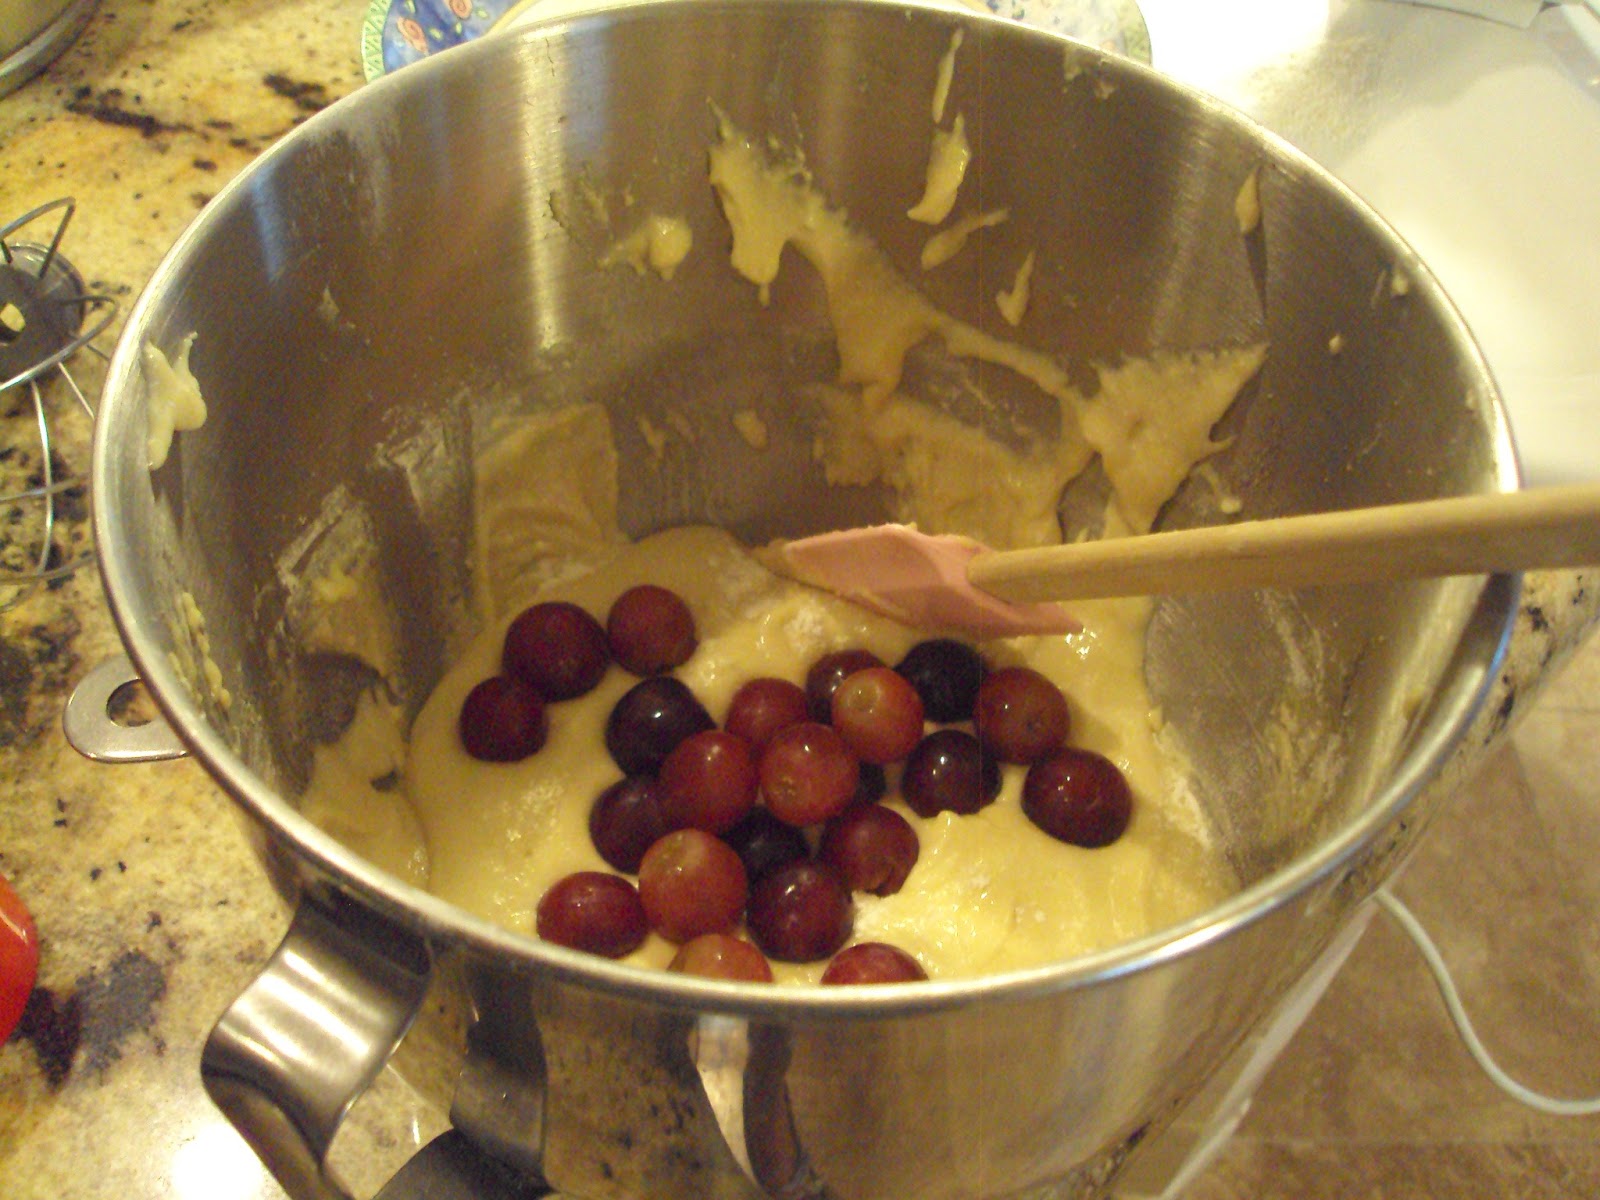
Once the batter is prepared, stir half of the grapes in to the mixture.
After ten minutes in the oven, pull the pan out and sprinkle the other half of the grapes on top.

Mediterranean Cornbread (Cake?)

Ingredients:
1 c flour
½ c yellow corn meal
1 ½ t baking powder
½ t kosher salt
2 large eggs
2/3 c sugar
½ c extra-virgin olive oil
1/3 c milk
1 t vanilla extract
1 t finely grated lemon zest
1 ¾ c (about 10 oz) red seedless grapes, rinsed and dried

Directions:
  • Preheat oven to 350° and be sure rack is in center position.
  • Generously grease a 9-inch round springform pan. 
  • In medium bowl, whisk together flour, cornmeal, baking powder and salt.  Set aside.
  • Place eggs and sugar in the blowl of a stand mixer fitted with the paddle attachment.  Beat on medium-high speed until light and frothy, about 5 minutes. 
  • Reduce mixer speed to low, and pour oil into the egg mixture in a slow steady stream.  Increase mixer speed to medium and beat for 1 minute.
  • Reduce speed again and add milk, vanilla and lemon zest.
  • While maintaining mixer speed on low, add flour mixture gradually, and mix until just incorporated. 
  • Remove bowl from mixer and stir in half of the grapes by hand.  Transfer batter to prepared springform pan and bake in preheated oven for 10 minutes.
  • After 10 minutes quickly remove the pan from the oven and sprinkle the remaining grapes on top of batter.  Continue to bake until golden and a toothpick inserted in center comes out clean (40-45 additional minutes).
  • Transfer to wire rack and cool for 5 minutes.  If serving as a dessert, sprinkle with powdered sugar and/or garnish with a dollop of whipped cream.

Dinner is ready!  

Wednesday, July 10, 2013

DIY: Revitalize a Tired Deck or Patio Surface

by Sheila


The deck is done, the sun is setting, and it's time for happy hour!


The view from the deck out to the golf course on our newest investment venture 

I know I am not alone in enjoying spending time outdoors.  I like having a cup of coffee outside in the morning, and unwinding there in the evening.  This is why I am excited about some of the outdoor space in the Cairo investment property we recently purchased.  It has a great balcony off the master bedroom with a view of the golf course.  The plus side is that the balcony is a decent size (7' by 14') and gets morning sun and afternoon shade.  It is structurally sound.  The downside is that the wood has taken a beating from the Arizona sun and it appears to be leaking to the breakfast nook underneath it.  It also looks "rough" with the guardrail in need of paint and the wood itself needing sprucing up.  Hmmm, what to do?

I started with a consultation with my Dad, my go-to expert on all things construction.  He agreed that it could be salvaged.  I just needed to figure out exactly how.  I did a little internet research and discovered a product that claims to coat wood or cement surfaces and fill gaps of up to 1/4".  It rolls on like paint and provides a textured surface; comfortable to walk on, but not slippery. Along with this, they sell a caulk that is specially designed to work with this product.  I decided to give it a try.  I checked my local Lowe's store for deck coating products, and they had this one, as well as one made by Glidden.  When I compared them, the Rustoleum product only coats 50 square feet per gallon, which is half what the Glidden covers.  At first glance, you might think the Glidden product is the way to go because for about the same price, it will go further.  However, I decided the Rustoleom product was my better choice because since it won't go as far, it should produce a thicker coat.

The first step was to make sure the deck was clean.  I bought a deck and siding cleaner that attaches to the hose and sprayed it good with that product, and brushed it with a deck brush on an extension pole.  I then sanded and spray painted the railing with a paint plus primer black spray paint.  There is nothing like a fresh coat of paint to spruce things up!

I then added sections of 1 x 2 cut to size to fill gaps between the deck and the siding on the house. These were screwed in place and caulked.  The tedious part was using the caulking to seal between each of the boards.  This took 5 tubes of caulk, 7 splinters in my hands and about two and a half hours.  The last step was rolling on the Rustoleum deck product.   I first brushed it around the railing posts and up against the house, and then used a roller with an extension handle.  It goes on very thick and textured.  I recommend the roller that they sell with it, as this adds to the textured finish. It can be mixed in a variety of colors, and I chose Saddle.  
 

After cleaning, I added strips of 1 x 2 and caulked around these to seal the edges against the house


The caulking complete (the hardest part of the project) and the railing spray-painted

The product I used in the color Saddle
Paint around the deck rails with a paintbrush before you roll
 
You can see the texture here as I roll it on and it's still wet
 
 
Don't wear you new shoes - lots of splatter with this roller ;-)

Balcony restoration complete.   I'm quite pleased with the results!  Supposed to work well on cement surfaces as well.  I'd try it on a cement surface - I'm sure I'll have an opportunity before too long!


Sunday, July 7, 2013

Summer Sunshine Stripes

by Heather

Do you have colors and/or patterns that you really love and wear more often than not? I do. I made a list of the clothes I've worn so far in my postings on this blog and realized a couple of things: I love orange and yellow and I like stripes (I also seem to really REALLY like my orange Michael Kors Hamilton purse since it's shown up in so many posts). When a fellow blogger asked me to wear something striped for her link party this coming week, I thought I've probably already worn everything striped in my closet, but noooooooo...there were still plenty of items left. Here's one of my favorites for hot summer days.
Chico's cropped white denim jacket; Nordstrom's yellow and white striped tank; Loft white denim jeans
WHBM white tank under yellow and white tank
Target yellow and white wedges; Nordstrom yellow lucite bangle; Swarovski crystal ring; Michael Kors Hamilton purse
The tank has smaller stripes in the back (do they make my butt look smaller?
 Note: I said "smaller" not "small")
Coach large gold anchor necklace; Juicy Couture white and gold anchor necklace
Small starfish earrings add to the nautical look.
Liberty didn't understand why we weren't paying any attention to her. 
Look how cute I am with my short summer haircut! Please stop taking photos and play with me!

Have a wonderful sunshine-y week!

Love, 
Heather