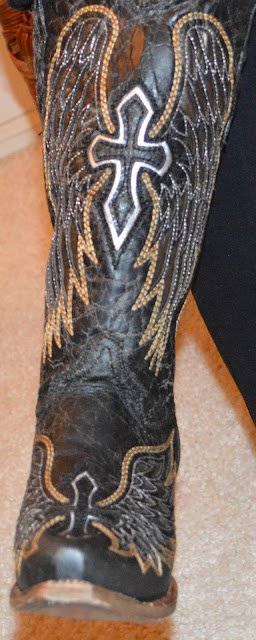
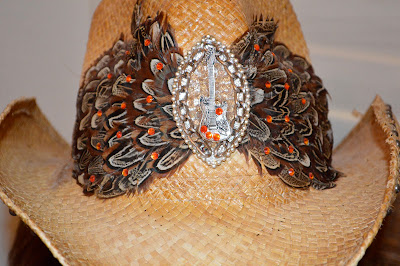
To pull yourself up by your bootstraps means "to improve or become a success by one's own efforts." Here's the story of what I did to pull myself up by my bootstraps (the improvement part -- becoming a success is yet to happen):
Several months ago I realized I had become more of a spectator in life than an active participant, and that I was living a little too vicariously through my husband. At least twice a week, time was spent watching the hubby jam with other musicians at a favorite club or play with his band at some local watering hole. I play two songs with the band, and I really enjoy watching them or dancing to them but when I found that I was wanting to make "band decisions" I realized I needed to have something more in my life. It was time to find a hobby -- something that was more active than reading or knitting and something I could share with friends. I needed "to pull myself up by my bootstraps" as the saying goes and figure out something fun to do... bootstraps..boots..cowboy boots...western wear...western dancing...line dancing!
The idea took root and I did some research. There are several local spots in Phoenix that teach the "how-to's" on a weekly basis. The great part is that you don't need a partner. Hubby likes to come and watch, but isn't keen on the dancing part. A margarita and fish tacos at Handlebar J's in Scottsdale on Tuesday nights keep him happily entertained while I'm dancing. Harold's in Cave Creek hosts dance lessons on Thursday evenings and if you want more practice, there's country dancing after the bull riding event on Fridays at the Buffalo Chip (across the parking lot from Harold's). There are several other places that offer country line dancing in the Valley as well, but these three are my favorites.
The crowd at Handlebar J's is a mix of young and old, tourists and locals, experienced and not-so-much, but everyone is there to have a good time and get a great cardio workout.  Notice how we're all doing something different than the instructor (blonde in crocheted vest). Nobody seems to care how good or bad you are at this :)
 Notice how we're all doing something different than the instructor (blonde in crocheted vest). Nobody seems to care how good or bad you are at this :)
If you'd like to learn line dancing and aren't in a city that offers lessons, check out the videos in the gallery at our teacher's website:
Couples' lessons at the Buffalo Chip in Cave Creek, Arizona
When I retire, I'm looking forward to many more opportunities for fun and games so I'd sure like to get some ideas from our readers! Please leave a comment telling me what gives you bliss on a regular basis, okay?
Love,
Heather


